*****
This project was also presented at an auction / fund raiser. It was part of a gift basket presented by my son's first grade class that consisted of items with a "picnic" theme.


*****
This project was also presented at an auction / fund raiser. It was part of a gift basket presented by my son's first grade class that consisted of items with a "picnic" theme.


 | |
| Well.. you get the general idea.. I didn't save a photo of the back of this project but it was black and white checks with tiny cartoon ants.. was a fun fit to the 'picnic' theme. |
*****
A little project star to make my quilt room look like a quilter actually lives and works there.


*****
Finally.. a project for my own bed! Something I assume most quilters don't do very often. It started as a star and I just kinda winged it until the top was queen sized and then put it up on the long arm frame. A few reasons I wanted to do this project.. I loved the bits and scraps of purple fabrics I've collected over the years and I found a brown backing fabric that I liked that was offered in a 106 inch width. Might not sound like a bit deal to a non-quilter, but not having to piece the back of a quilt together was awesome! |
| You may recognize this color scheme in my tutorial for creating this star pattern. I've used these fabrics in several projects, I had just enough to build this centerpiece star for this project. |
 |
| Ready to quilt. |
 |
| Back, mounted on the frame. |
 |
| The finished product... |
*****

Set up my cut paddle fabrics and moved them around again and again til the placement was random, interesting and the dark and lights were balanced.

Once the blocks were pieced I repeated the exercise that I had done above... constantly moving and shifting colors and patterns.
One thing I love about this block design is how the 'background' negative space can pop into the foreground and the pattern can look a bit different and interresting each time you see it.


*****
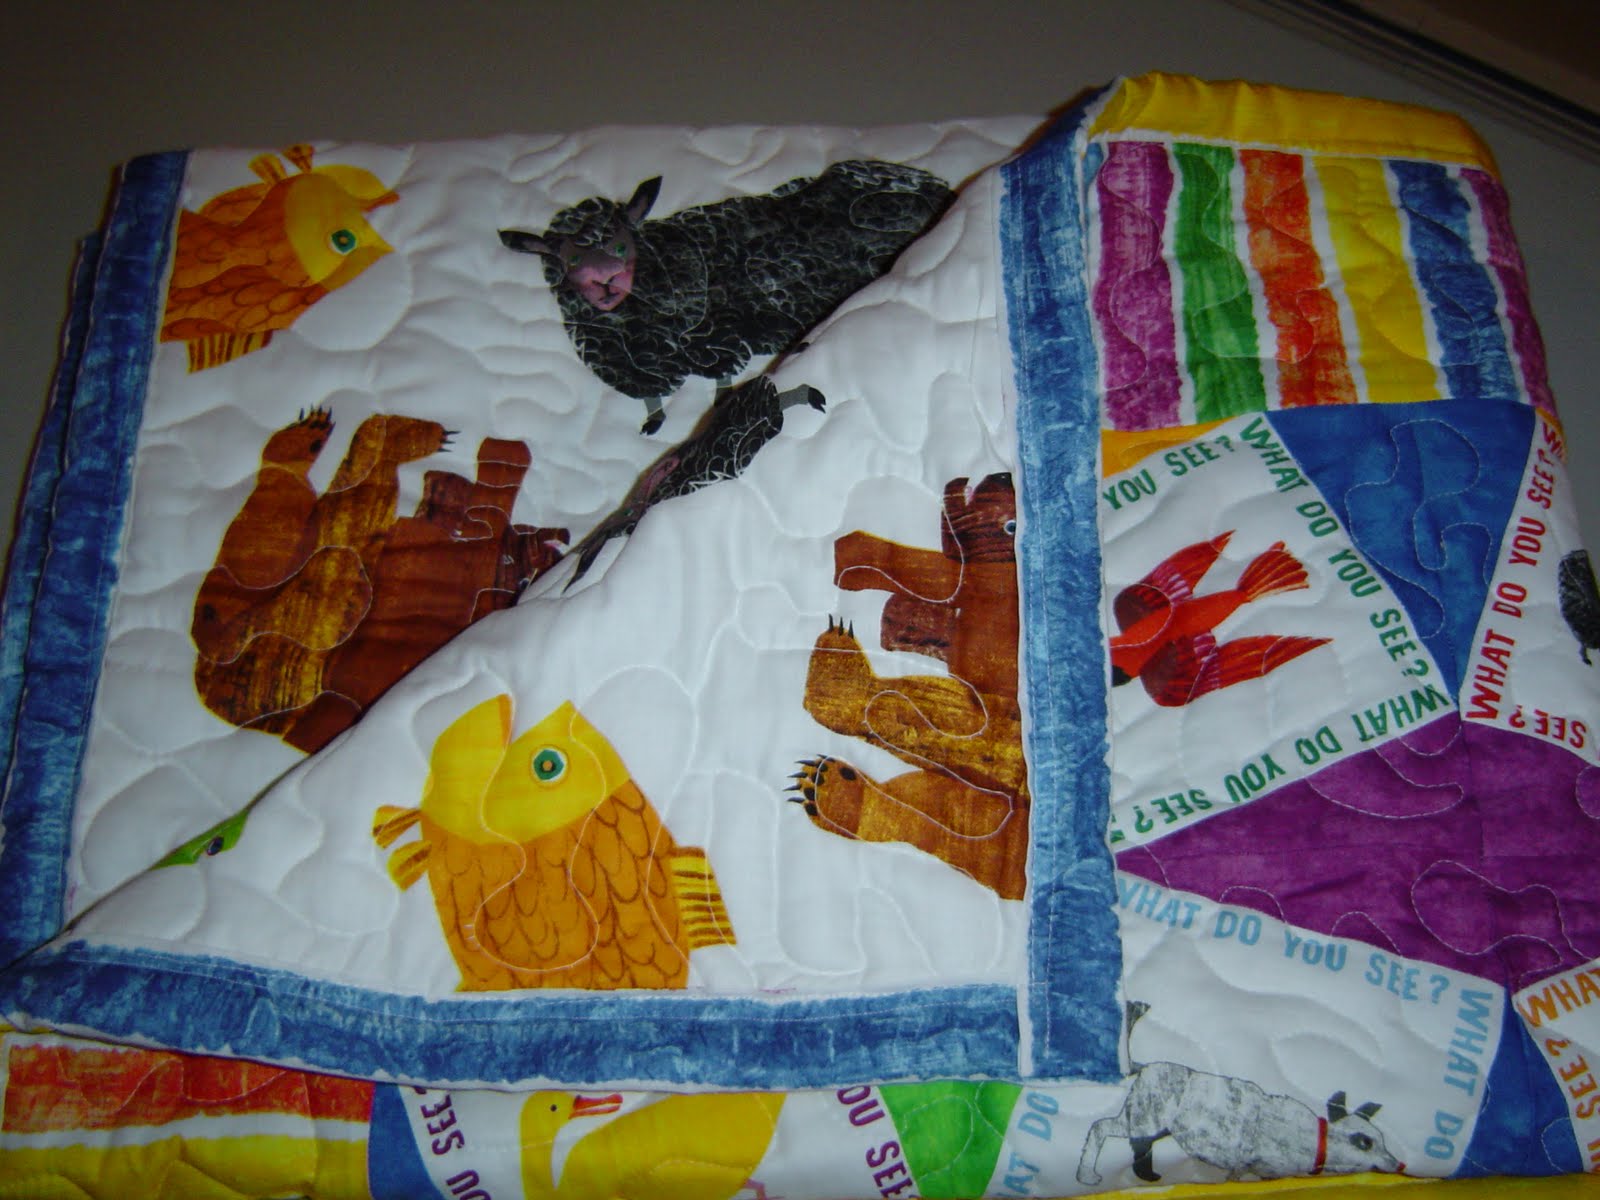
In process photos of baby Elena's quilt project...


******
Christmas 2011 Wreath project...
I had been meaning to try this project for a long time. I had held off because working with triangles is somewhat frustrating to me. So for this one I re-worked the instructions so that I could use strip piecing. The process I used was a bit wasteful as I cut away a bit more fabric than usual, but I felt the end product was cleaner in the intersections of the triangles and I was able to assemble the pieces with a lot less stretching and distortion of the shapes.

The start to this project... my quilt plan in my notebook, fabrics all out being shuffled, cut and placed into a logical order for me to be able to assemble them logically.


 |
| My meandering quilt stitch.. not so bad for a first try and without a quilt frame. This is a good way to bring the quilting into the project as a design element. However, for a kitchen table quilter having to move any amount of sandwiched fabric and batting around is cumbersome at best and I obviously need much more practice... |
 |
| The finished quilt front... |
 | ||||||||||||||||
| The finished quilt back. |

 |
| A theme bundle. |
 |
| Double binding. |
This project started as hand prints on paper. Each child stamped their hands and wrote their name on the print.

I then scanned the prints an printed those on cotton fabric. I tried to coordinate a solid color to offset the hand print and created a boarder around each print.

A corresponding 8 point star would then be used to alternate with the hand print squares.

The finished 'field' of squares..

The finished front........

The boarder and back up close....


*****
This project was really fun. I had plenty of fabric in my bins, but shopped around on-line for this fabric. It was just what I had in mind...

The fabric is part of about 7 different designs that all go together in a style group called "Cruising The Galaxy", offered by a company called Wilmington Prints. I chose 4 fabrics, there were others but I wanted to keep the bright colors.

I used a quilt square called the Ohio Star and broke out a small boarder in rows which is something just a bit more interesting than just a field of quilt blocks.

The finished quilt top.

Hopefully baby Cole will like it ... all that's left is to wrap it for Lisa's baby shower ...
*****
This one was put together for my nephew Jeff's baby girl, expected this June. The pattern here is a Log Cabin, something I've done several times before. However, I had never set the blocks on their points before and I will say I like that placement of the log cabin better than simply aligning them in rows..
 |
| Figuring out the layout... |
 |
| Quilt front done, ready to lay out the back [dragon flies] fabric |
 |
| Completed. Front. |
 |
| Completed folded / dragon fly back. |
*****
9 Patch Block / Photo Quilt. This one was made for my Aunt's 80th Birthday. First time I've used this printable cotton and I am very impressed with it. I think I'll find other projects to make using this product. This was a quick and fun project.-->
|
| |||||
| ||||||


