Friday, July 27, 2012

Hannah's Birthday Rag Quilt


This project started with some polar fleece fabric that I had purchased about a year ago because it was on sale.  I had gone to the fabric store trying to think of a project that was different so I started to stroll outside of the quilting cotton section and ended up at the back corner with the giant bolts of fleece.  Joann fabrics often has good sales and this was a 50% off sale.  At the time there were a few nieces of mine expecting babies so I bought a few girly colors and set them aside.  The babies ended up being boys so into the fabric stash the fleece went.  Then a few weeks back we were shopping for a birthday gift for my son's friend Hannah's 7th birthday and the light bulb went on over my head and I remembered the fleece was still in my bin.  I had always wanted to try a quick rag quilt and thought these two colors would compliment each other nicely.

A rag quilt is a good project for beginners or if you are short on time as they come together very quickly and require no basting or quilting.  Most fleece bolts come in 60 inch widths so a little yardage goes a long way.  This project was for a full sized bed and unlike a traditional quilt that you want to have hang over the sides of the bed enough to cover the sides of the mattress this type of quilt is fun to make as a throw blanket or a bed topper.  So first step was to decide on sizes for my squares and cut them out from each of the two fabrics.  Since the fabric is so wide and would be difficult to cut if folded two times due to the 4 layers of a very thick fleece I had to be creative when cutting.

This method works well for me.  I lay wider fabrics on one of my larger cutting mats and establish a straight side.

Then using my 12 x 12 cutting square as a guide I place my 24 inch ruler against that for my straight cut line for my cutting wheel.  The trick here is to not allow the longer ruler to leave the fabric until the cut is across the entire width of the piece.  To do that I remove the 12 x 12 while making my cut.  I then replace the 12 X 12 and slide the long ruler along that until it extends to the other side of the fabric, I then finish the cut.


 The cutting here is very quick, strips of fleece, then into squares.  Another thing to know is that there is single sided and double sided fleece.  When you create a rag quilt from a fabric like cotton or even flannel you would create your squares with a front and a back fabric and sometimes, depending on the thickness of the flannel you may even choose to line it with more flannel or batting like a traditional 'quilt sandwich'.  However, with fleece you already have such a thick warm fabric that there really is no need to do that.

If you have a double sided fleece then it is as soft and fuzzy on one side as the other.  However, you also want to be aware that there is a slight difference between the front and back of the fabric.  It's difficult to see if you don't look closely, but if you make a mistake and don't keep the front fabrics to the front of your work it will stick out in the finished product.  Here's an example of the fabric that I have with a printed design, I've folded over the fabric so you can see the back.  It's just slightly less plush, I was careful to keep my cut squares oriented the same way to avoid making this mistake.

The noticeable difference in making a rag quilt vs any other traditionally pieced quilts is the seam in this type of project is exposed.  I chose a seam allowance of 1 inch here and when assembled the seams can get a bit crowded.  If you choose to make your rag quilt from cotton or flannel that has a liner or batting you would potentially have three layers of fabric as your seam which can get a bit bulky.  This bulk is fine and will help to give the quilt the special look that makes it a rag quilt. 

Although the style of this quilt is a bit forgiving it is important to be precise in your seam allowances and square intersections as variations will show on the back of the project.  Once you've got all your squares together the next step is to cut the seams.  I use a spring loaded scissor for this part of the project so that my hand wouldn't hurt from all the cutting.  This is my sewing machine scissor that sits next to me all the time and I love it.. it really gives my hand a break as I tend to have numbness and pain in my fingers and hands.  The cuts should be in approx 1/2 inch intervals along all seams.  Keep to approx 1/8 inch away from any stitched seam to avoid creating a hole in your finished work.  As you can see near the edge I cut away about an inch and a half to create the fringe around the edge when the cutting in the middle is complete.

In a project of this size there is a lot of cutting that needs to be done.  I tried to stay roughly the same size although since you are eventually going to toss this into the laundry so that the seams can get fluffy and frayed looking it isn't going to make much of a difference if they aren't all exactly 1/2 inch.  Once completely cut the last step before tossing it into the washing machine is to secure the outside edge with one stitch all around the project and then to cut the same fringe style cuts around the entire project.

Edge 'fringe'


The finished project.  Hopefully it fits well as a bed quilt or as a fun throw blanket.  Seems like soft fabric a 7 year old girl might enjoy.

Tuesday, July 3, 2012

What's Old is New Again... Part 1

I suppose for most of us quilters [or I assume for any crafter] it is very rewarding when we create something that others enjoy, that people find comforting or appealing.  For me, I love seeing photos after I present a quilt to someone that shows the person actually using the quilt on their sofa, or on their bed, or wrapping their baby up in it, it's satisfying to me.  It feels like the person using the quilt is the true last step in creating it.  For me I hope that the time, care and love that I put into planning and preparing a quilt project for a person comes through in the final result.

I've currently got a project on my table that is very different than any of the others I've worked on because I didn't actually piece this one together.  This project comes to me as a repair.  One of our Salem Christian School friends has within their family a quilt that was given to them years ago as a gift.  From what I understand it was a wedding gift and that tells me that it lasted through years of growing a family.  It holds a considerable amount of sentimental value and for that reason they'd like it preserved.  I am honored that they'd entrust me with this project and even more excited to be able to give it back to them when it is complete knowing that it will last and be able to be enjoyed for them for a long time.  I'm happy to preserve this project and hopefully with it the care and loving detail that the person who put it together had in mind for this family.

Quilts, to me, are so comforting.  They get worn and torn like a favorite pair of blue jeans.  While I'm working on it I can just imagine this family growing up wrapped up in this quilt.  Wrapped up in the affection that someone had intended to sew right into it.  That's just the feeling I get with this quilt.  If this quilt could talk it would most likely tell of movie nights on the sofa, afternoon naps, babies being born, kids growing up and memories this family has, all wrapped up into this one quilt.

I know what you're thinking... 'sounds a bit sappy and dramatic', yeah I know.  However, if I didn't feel strongly about it, why would I bother to do it?  Needless to say... I'm taking my time and care in this repair project.  I figure I'd dedicate two blog pages to this project.. this one chronicling the repairs and the next, the finished result.  The funny thing is that my sister, a professional fabricator of custom window treatments, gets repair requests all the time.  When I told her that I was working on this project her reaction wasn't as positive and up-beat as mine.  She warning me that you never know what you'll find when you open up a project that you didn't create... I took that as a challenge.  Somewhat of a quilt layer treasure hunt and pressed on.

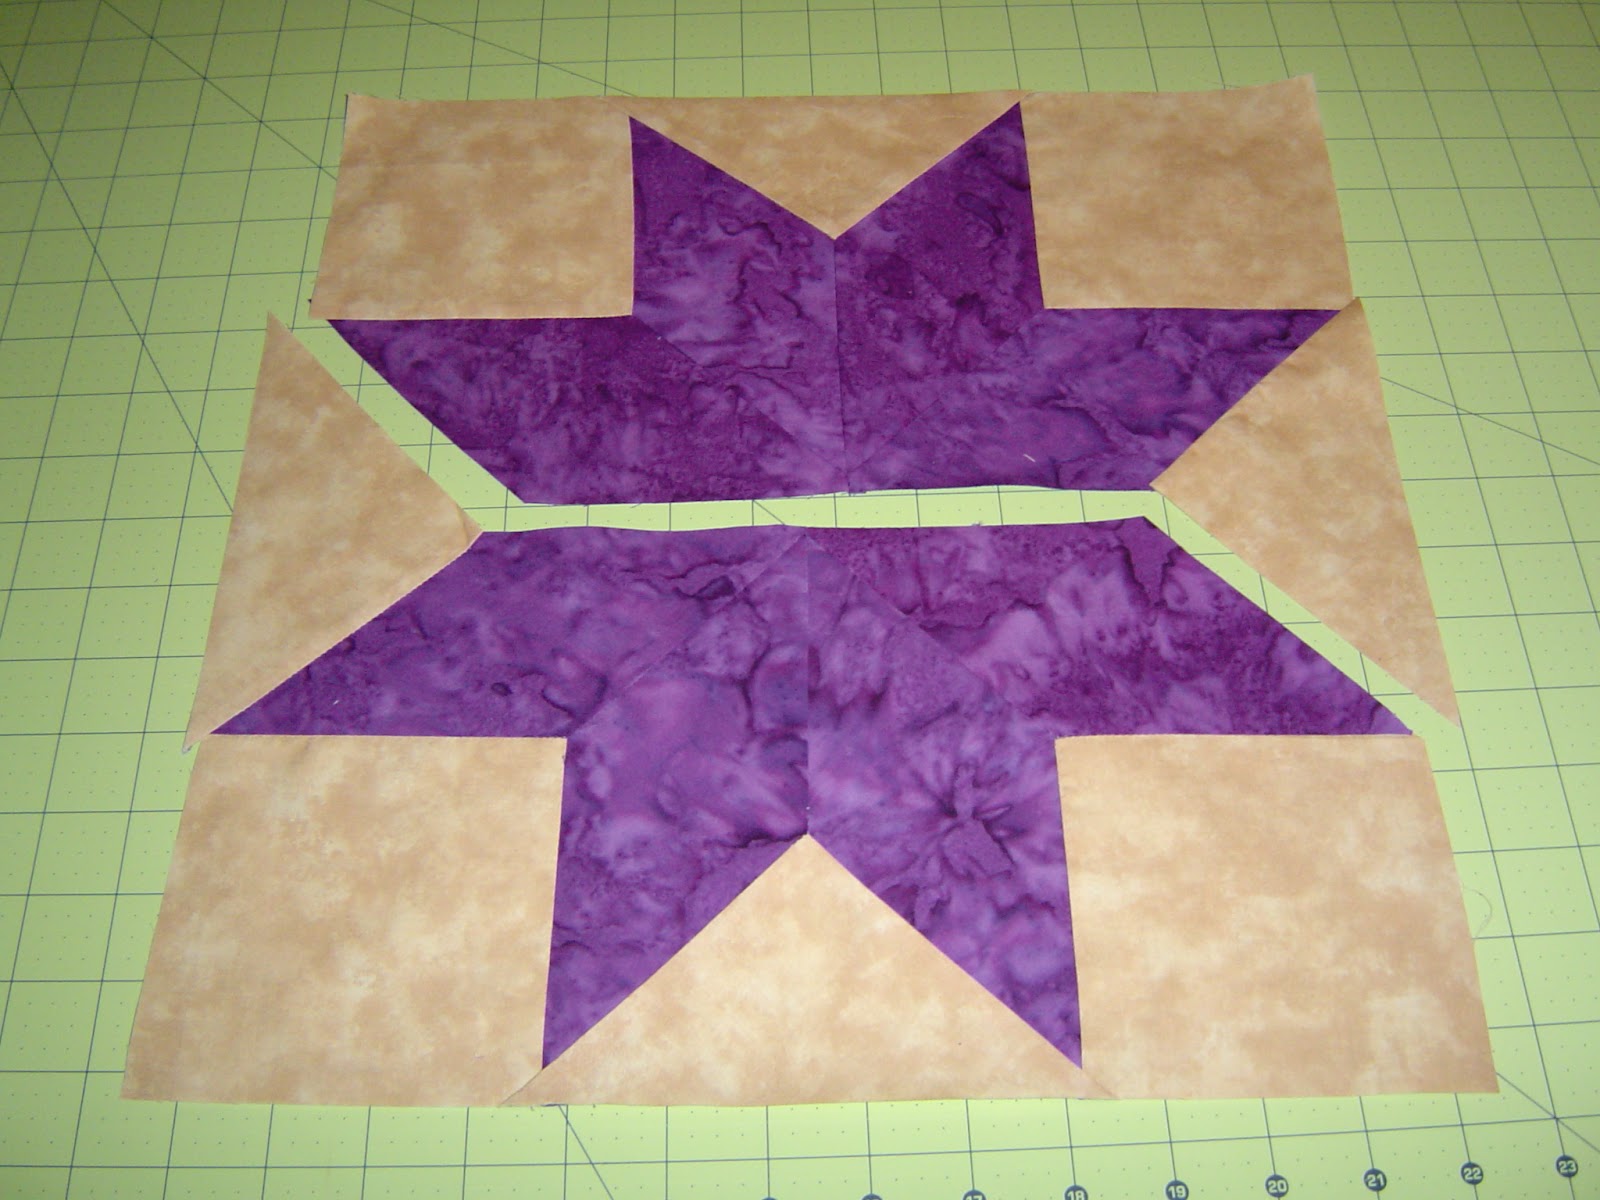
The subject... a small Ohio Star quilt.  I’m not sure if you can tell by these photos but it's a tied quilt.  With many tied projects, that in itself starts the problematic points of this quilt.  I'm simply not a big fan of tied quilts, there's a lot riding on those little tied spots. 


The quilt is bound with a separate binding strip which will make finishing a bit easier for me as I don't need to rely on the backing being the exact size and shape once all is back together... there's a tiny bit of fudge factor with a quilt that is bound in this fashion.  In this method the binding strip is attached to both sides evenly as opposed to the backing fabric needing to extend past the size of the front fabric and fold over the edges.  I've taken care to preserve the binding for re-assembling this project after it is quilted.  Most likely it will be too long when that occurs because I do intend to finish this with a combination of quilting and tying and machine quilting shortens a quilt a tiny bit.  The retying is mostly so the project maintains more of its original look and handmade charm.


As you can see from this photo, a bit of a closer shot of the center of the Ohio Star block, this is where the quilt was tied.  Some of the ties extend to the back of the project, others did not adding to the structural issues that the quilt had with the batting sagging in the middle of the three quilt layers.  Once I opened the layers up I could clearly see why the crafter had troubles tying through in all spots.


A major issue that this quilt had can be seen in this photo, the ties on this project are spaced 14 inches or more apart.  Before taking the project apart I had assumed a high-loft poly batting was waiting for me inside, I guessed that from the 'fluffiness' of the overall quilt.    High-loft batting is usually very loosely woven together and requires a 4" to 6" spacing between quilting or ties.  A combination of the spacing being too far apart and what as used for batting was what caused all the sagging over the years.  I was also completely wrong in my estimate of what type of batting that was inside, in fact, there was no batting to speak of.  The crafter had used a woven cotton blanket inside this quilt that didn’t stand a chance with ties so far apart.  That discovery also answered my question as to why this quilt, for such a small size was so heavy.  The family likes the fluffy loft of this quilt, so I have chosen a very high loft batting when re-assembling that is also the type used when making sleeping bags.  Hopefully that will give them the fluffy and warm feeling that they remember, without the weight and bulk of the old material.


Now for the repairs.  Once I had pulled the quilt apart I set aside the backing and binding and could really get into repairing any problem spots.  There was one obvious tear when I first looked at it and I was able to discover 3 others throughout the project by inspecting each seam for a total of 4 spots that needed repair.  Two of the tears were large and two were just the beginnings of seams that were starting to fray.  These tears sometimes happen when a 1/4 seam allowance is not observed throughout or in long seams that may pull from the inside.  The two worse tears I was able fix with the least obvious looking repair method while the other two I had no other option but to over-stitch them.  The over-stitched repairs are visible, however I think I chose a thread that matches well and they are in a location where the stitches can blend in.


Before Repair


In the torn spots that I could repair from the back of the seams I was able to re-sew a new seam by borrowing just enough seam allowance from an adjoining pieced shape.  With this spot, the largest tear, I was lucky that I was able to pull in enough of the seam from the 'flying geese' [the three piece triangle shape] without making the overall line of the darker color square look distorted.  It's not ironed yet in this photo because it's still lying over my work area, but once that's ironed flat it will blend right in.


After Repair

With this smaller spot I wasn't as lucky as the larger as there really wasn't much fabric to borrow in order to re-sew this seam.  As a result I had to be a bit creative and the overall shape of the flying geese is lost a bit but the block, I feel, is busy enough that it won't be noticed.

Before Repair
 
After Repair


 Here you get a bit of a different view of the repair.  The shape itself is a bit distorted, but it was necessary to gain enough seam to repair the tear. 


The next two spots are small so I've pointed them out by inserting my wooden pointer.  They were both approximately a half inch each.  Probably not a big deal if I were to leave them that way.  However over time the entire triangle would be damaged as the tears are on either side of the same shape and when that happens the only way to repair it would be replace the whole triangle by appliquéing a new fabric piece over it.  I much rather repair these small holes now and save the future repair of finding suitable fabric to match and patch the whole shape.


For this repair I over-stitched using a zig zag stitch in a thread color that should blend in fairly well.  It looks a bit obvious up close, however when I back the camera up even a foot away from the block you can already see how it will blend in.  On my own quilts that need repair, this is usually how I repair them.  Mostly because I don't take them apart and don't have the option of fixing a seam from inside or back of the quilt top.  The quilt that I created for my son's bed tends to get a lot of tears in it and has a lot of these  'Frankenstein-esc' repair spots on it.  I simply tell him that I'm sewing up the holes so the love doesn't spill out.  It's not the prettiest repair, but it gets the job done.


Last thing I’ve done which isn’t really a ‘repair’ per se` is to ‘clean up’ the back of the quilt top a bit.  All those years of washing and sagging quilt layers had made quite a mess of the pieced seams.  I’ve removed any loose threads and neatened up a few seams that were a bit ragged.

Next step for this quilt is to get it put back together.  This one will be machine quilted in a meandering style using large circular shapes with the long arm machine on the quilt frame.  Once quilted, I’ll go back and retie the centers of the Ohio Star blocks and then add back the type of ribbon that had been used when the quilt was first assembled.  Lastly the binding will go back on and the project will be complete.. again.  Stay tuned...


Thursday, May 10, 2012

A House Warming Quilt

Well, this quilt design changed a few times before I settled on the final plan.  I had found a king sized quilt in a magazine that I liked that was made up of different varieties of Ohio star blocks.  The king size inspired a 40 x 40 inch square wall quilt project and was also why my last post was a 'Block of  the Week' featuring the Ohio Star for some practice.  The colors and sizes of the blocks in the magazine were fairly hap hazard as it was indicated in the article as a 'block swap' project.   A block swap is just what it sounds like.. kinda like a cookie swap but instead of everyone bringing 12 dozen cookies to the party, they each bring 12 quilt blocks and then the swapping begins.  Each person attending then creates a project using the blocks that were collected up at the block swap.  Sounds a lot funner to me than the old boring Tupperware party!  Except for the fact that I'd be playing the part of all  12 of the party goers... I was excited and ready to start the project.

I wanted to keep the project kinda neutral and stick to earthy colors.  I ended up using two fabric collection's that were both offered by the designers from Kansas Troubles Quilters called "Sandhill Plums" and "Cattails & Clover".  I like the overall feel of the mix of the colors and hoped it wouldn't be too dark of a project when completed.  My one complaint is that once I had all my fabrics together and was making my final decisions as to what specific pieces to use where the overall look started to kinda feel a bit too much like Christmas colors, but I really love all the fabrics that I chose so I kept those choices.

The project is intended to be a house warming gift for two friends of mine who just purchased their first home together.  They had invited our family to a party to celebrate and I was looking forward to having the project together as the gift I would bring.  I knew the basic color schemes that they liked and was hopeful  these would fit into their decor.  A few times working on this project I did second guess things.  Making a quilt for someone's bed is one type of gift, but making a quilt intended only to be displayed on a wall, kinda a whole other thing.  I felt a like it may be somewhat presumptuous and I wouldn't want someone to feel compelled to hang it up when it may not be entirely their style.  I suppose that this could be an item displayed in winter or during the holidays, although I hope they like it enough to have it hang in their home all year round.

During my preparation for this project I made a not so startling revaluation... as noted in my 'BOTW - Ohio Star' post, I hate traditional piecing method for putting flying geese together.  Of course, what's an Ohio Star but a 9 patch block that incorporates flying geese!!  So, that's where the plan that I had sketched out in my graph paper  notebook changed from many different Ohio Star blocks of all sizes and some inside other blocks to only one size Ohio Star block, then again to one giant lone star block surrounded by a boarder of Ohio stars.
 
I know what you're thinking... 'hasn't she made enough lone star quilts!?!'  I admit.. I do that pattern a lot.. but I do love it.  The lone star (or Bethlehem star) is one of my favorites.. it's challenging and dramatic when you do it right.  This one is a great example and proved to me that I'm getting better and being precise when piecing it.  After all there are a lot of points that need to match up.  However, it is becoming a bit over done, so I promise after this project to branch out a bit more and save the Bethlehem stars for Christmas.  I may branch out into a project that is more of a a compass star or some type of star that is a bit more challenging.  With this I can use strip piecing and can usually put a star like this together in 1 evening if I've pre-cut my fabrics already.

I wanted the binding of this project to reflect a few different fabrics that were inside the field of the quilt.  And since this item will most likely be on a wall where the back is not displayed or visible I used several different fabrics rather than a one piece back.

The final project completed.  It was a fun project, perhaps a slightly smaller size next time, but I think it will look good within my friends' home.


Monday, April 23, 2012

Ohio Star - 04/22/2012 Block of the Week

In my research of the "Ohio Star" quilt block I found much the same as I often discover of other patterns, that no definite dates or origins are known of this design.  What I did find matched what we know about other depression and post depression era patterns in that they became popular due to the ability to create them using small scraps of fabric,  usually fabric cast offs.  The Ohio Star pattern is also listed on one quilt history web site as a popular design used by Scottish and Irish immigrants, perhaps giving hints to the quilts origins.


This 'block of the week' came out of the beginning of a new wall size quilt that I have started this weekend.  


Started with a plan, as they all do, but this one specifically I had to do a bit of quilt math as I had no pattern for an 8 inch finished Ohio Star block.  This is part of what I enjoy about quilting, the geometry and the math of it.  There are web sites dedicated to 'quilt math' that offer formulas for growing a shape from one size to another and adding seam allowances.  I find it easier to simply draw it out on graph paper and add my seam allowance, then measure the design just made to know what my cut vs finished sizes are.  Within this one there is a bit more planning as I purchased a few packets of fabric called 'layer cakes' which is a stack of about 40 fabrics that all match from one designer in one pack.  Each piece of fabric within a layer cake is 10 inches square.  So, in this case the cutting needs to be precise so that I have enough to finish the project and also don't waste any fabric as these packs of designer fabric can be expensive. 


It's hard to see from this photo but I've not only mapped out and labeled the sections that make up my Ohio Star, but also created a guide for myself so that I get the most cuts from one 10 inch square of fabric.


 Once I have a plan mapped out and my pieces of this pattern sized properly it's time to cut and piece the block together.  In this case I've created two maps for cutting my pieces, an Inside map and an Outside map.  I have no idea if anyone identifies the pieces of this block pattern in this way, but to keep my mind straight on colors and what pieces go where this is how I split it up.  For this project I will be alternating light and dark fabrics from the same fabric designer and family so the inside may be dark with a contrasting light for the  outside pieces... then I'll switch it around.  The final, completed project will have random fabrics but an alternating scheme of light and coordinating dark fabrics.... at least that's my plan.

Well.. sometimes plans change... I had originally planned on an Ohio Star inside an Ohio Star.. that is, an overall finished block size of 8 inches with the inside 4 inch square being a star inside a star.  Then I began to play around with the fabrics and sew a few trial blocks.  That's when it hit me... I hate flying geese!  What the heck are flying geese?  Flying geese are the rectangle blocks surrounding the inside square with the two facing right angle triangles on them.  Why do I hate them?  Well, mostly because I have not yet mastered an easier technique.  There are products available to assist of course, such as 'no-math' rulers and special instruction.. I do them the old fashioned way and it is tedious and boring to me.  Once I find that one method of trick that works best for me where I can make a whole lot of geese faster and easier then you'll see me posting a whole quilt of them.. but for now... one square per block will suffice.

 It all starts with the contrasting fabrics.  This particular quilt will be a wall hanging, made up of 25 eight inch finished blocks and finished with a boarder of various fabrics used within the field.  This is a good representation of the tones of fabrics that I've selected for this one...

Another reason to like the Ohio Star block in spite of the geese... the math is fairly easy.  The cuts are calculated by taking the whole block size, and dividing it in sections with the following ratios; 1:2:1.  That is, if a block is to have a finished width of 8 inches.  and you were to draw a grid across the block creating three sections by three sections in 'tic-tac-toe' format you'd cut pieces for the first row 2.5 inches wide, the middle 4.5 inches wide and the last row 2.5 inches.  The half inch for each section adds your 1/4 inch seam on both sides.  I may not have explained that very well, but what I mean to convey is that this shape is easy to re-size to any finished size.  Here you see that I've taken the step of creating my flying geese... from here the construction is fairly straight forward.


First a 4 inch finished Ohio Star block... I then quickly realized that I'd be much better off with larger 8 inch blocks.. both for a speedy project and the size of the piecing is much easier for me when they are bigger... not sure why.


But.. just in case you're curious..  here's an example of what it might look like had I created the smaller Ohio Star in the middle of a bigger one.  Of course this little star is just laid on top of the larger one, but it gives you the idea.

For this project I'm sticking to the 8 inch finished block.  Maybe by the time I'm done with all these flying geese I'll have explored some of the tips and tricks out there for creating them faster and easier... : )

Saturday, March 24, 2012

One Quilter's stash is ....

If there is one thing that is common among quilters I am willing to bet it is 'the stash'.. the piles and piles stashed fabric.  The reason for that, I assume is that we have all worked on projects where we just need a tiny bit of fabric to complete our design or our quilt plan; an eight of a yard of that certain shade or perhaps there was a fabric that you just loved working with so you wanted to use up every last bit of it.  In my case I pick up a lot of small amounts of fabric at the Fat Quarter bins.  I wait for sales and buy up a whole bunch to save for when I might need it.  One of my favorite on-line fabric suppliers has sales all the time. some fabrics she puts on clearance for $1 a yard, in that case I usually buy all she's got left.  Even at the fabric stores, like Joann fabrics the quilt fabrics, although omitted from the '50% your purchase' that come in the mail, they're usually fairly cheap and the colors and designs most often complement each other very well when they are already bundled and they're easy for little 'scrappy' projects.  When you buy up fabrics like that, like I do, you need to stash it in bins and it needs to be organized... husbands (mine in particular) hate the fabric stash!

A few reasons I suspect my husband hates the fabric stash is that most often I need to ask for his assistance in pulling the giant rubber maid bins up from the basement when planning a  new project.  I've got a giant bin of seasonal and holiday fabric, another bin with specialty non-cotton fabrics, another bin of novelty fabrics (like Disney characters and Marvel Comics licensed fabrics) and then there's the super huge bin of all quilting cotton that doesn't fit into the mold of the aforementioned categories.  Dragging them up the stairs of our house is a chore and every time I ask him to do this for me he and I have the same discussion.. goes a bit like this...

Husband - "seriously? do you really need all that fabric? why don't you go through it and throw away what you don't need."
Me - "Yes.  I need it all."
Husband - "... but you're not using it all, every time I bring the bin up it is the same fabric"
Me - "One day I will be looking for a specific scrap and I will remember it is in here."

This usually is followed by a sigh and some eye rolling.  Funny thing is that we have the same type of conversation when we discuss the basement, garage and all his power tools.  We had this discussion last week while cleaning out the garage, went a bit like this...

Me - "Seriously? do you really need all these tools, nuts, bolts and junk? Why don't we donate them or have a yard sale or something?"
Husband - "Yes.  I need all of them."
Me - "... but I have never seen you ever use half of it.. like that giant drill press.. why would we keep it if you never have anything that needs drill pressing?
Husband - "One day you will ask me to fix something and you will be happy that I already have the right tool for the job and won't have to go out and buy something new."
And again... repeat the sighs and eye rolling.

Well, this week the challenge that I had for myself was to make a quilt completely from my stash bins, no newly purchased fabrics, except for the batting the complete project right from the bins.  In order to do this I had to choose a design that lends itself to many different fabrics as a stash bin rarely contains fabric in quantities large enough for a whole project, at lest mine doesn't.  It's bits and pieces and some small baggies of tiny, already cut, leftover  triangles and squares.  I have done this before when I made a small lap-sized Log Cabin quilt for Glenn's Dad for a Christmas gift.   However, this time I wanted to make a large, bed-sized, project.  So I chose to make a twin sized project with many different greens offset by a creme color.


This pattern is from The Thimbleberries book of quilts and the individual square design is called "Paddles and Pinwheels".  This has been one of my favorite patterns because I just love the way that the creme color, the pin wheels, sometimes pops out and becomes the focal shape and other times you look at it and see the paddles, the greens.


Anyone who knows me or has read my blog before knows I am really, really bad at doing things randomly and even when something looks random it is usually very calculated.  When I try to create a 'random' look I usually line up all my colors and assign a letter or a number to each one.  I then draw a grid with the matching number of blocks that the quilt will have and play a little game of Sudoku with the letters or numbers.  With that I verify that no block color is repeated too often, is in line with another, touches another block with the same color or is adjacent to... STOP THE INSANITY!!

For this project I didn't want to do that.. so this time I simply laid all my cut paddles down and moved them around until the variation looked pleasing to me.  I will say, it was a much more enjoyable activity playing with the fabric colors then re-inventing the fabric equivalent of Benjamin Franklin's mathematical magic squares.  I also had different amounts of each fabric, so the same color repeats different times than another, some paddle fabrics I only had enough for 2 blocks, other fabrics I had enough for 4 or 5 which helped with getting away from a repeated pattern of color.

For the boarder of this quilt I simply created stripes of the pin wheel creme and the forest green paddle fabric as those were the two that I had most of.  To make the corners a bit interesting and to save me the trouble of matching the stripes perfectly within a mitered corner, I created a 9 patch and used it to interrupt the two boarders where they met.


These photos are of only the quilt top as I am holding this one aside for finishing on my new Hinterberg quilt frame and Viking 17 inch long arm machine!! The big brown UPS truck brought it to me today and hopefully this weekend I will be able to get it put together and finish all the projects I've got waiting in the wings... watch my blog for updates and photos once we figure out where to put the darn thing!!

Tuesday, March 13, 2012

Seeing Stars

If you've been on my Christmas list within the last few years you may have received a small sofa quilt or a wall hanging made with one of my very favorite quilt patterns, the Bethlehem Star.  I've researched this star design a bit, as I usually do for most of the traditional patterns that I attempt, and in my research I have discovered that this star has been known by many names.  This star, made of same size diamonds in gradient colors has been called 'The Mathematical Star', 'The Lone Star', 'The Star of Bethlehem' and known by Native Americans as 'The Morning Star'.

I like this design for a few reasons, it's a bit of a challenge to put together and have the intersecting, cascading diamonds line up exactly on their points, and for the fact that you can build this pattern with as many diamonds and sizes as you want.  I also like this design because it is a very dramatic looking and can be an exciting focal point.

As soon as the last quilt project was finished and the cutting table empty I started to think of my next quilt.  I had been wanting to put together a small square quilt for the wall in my dining room behind where I set up my cutting and ironing table.  The wall is a good size with a big empty space between two windows, approx 54 inches.  The space is begging for a small quilt because when you come into my house from the front door and walk up the stairs you can see through the kitchen to the dinning room it would be the very first thing your eye catches.

Most of the time when I'm planning a new project Glenn sneaks in his $00.02 cents worth of input and since this will be on the wall and something that we both will have to look at all the time, he wanted to assist in choosing the color pallet and the fabrics.  Of course, our ideas for both were heading in two completely different directions.  I had a green, muted color pallet in mind and he insisted that it needed to be bold and exciting and a color that would be unexpected, like purple.  So, I started to dig through the bins of fabric, took my 6 year old to a few fabric stores to pick up a few additional  fabrics and laid out two piles; one purple and one green.  I figured I could use the practice, so I'd build two stars and we can then choose the one we all thought worked best.  Trouble was... I got carried away and made the first star gigantic!  Not only did it not fit the wall space, but when I measured it on the diagonal it was 60 inches wide, as wide as a queen size mattress!  It was obvious what I had to do next.. keep on sewing!!!  So, one project will end up on my bed and the other on the wall in the dining room.  A perfect plan, and we both get the colors that we wanted.  So.. that's just what I did.  Funny thing is that these two projects were put together in just a few days because I was so excited to finally be putting a project together for myself.. I just kept sewing as if it was a good book that I just couldn't put down!


One star turned into a star on a diamond, surrounded by 4 stars..


Which then turned into a queen sized quilt..

Still in progress... My two tables pushed together happens to be about the size of a queen sized mattress.  This one is not yet quilted together with a backing and batting.  I'm saving this one for my new long arm machine and quilting frame that I am anxiously waiting to be shipped to me... which is a post for another day!


As for a star for my wall... I love the colors, although I will admit that it looks a bit like a Christmas Tree skirt.  I also compromised with  Glenn and made this one an octagon which will be challenging to hang on the wall, but interesting to look at.


...... you will find more information about this star design and step by step instruction within the previous post "Bethlehem Star - 03/12/2012 - Block of the Week".

Bethlehem Star - 03/12/2012 - Block of the Week Instruction

"The Bethlehem Star" is a quilt design that looks particularly complicated and although it can be tricky to line up each pieced diamond that makes up the larger diamond design, it is a fairly easy project when you break it down step by step.


The finished design will look like this and be made to have any number 'rows' of diamonds.  For my stars I use a total of 5 different fabrics and I like to do so in a star burst type of layout, going from light to dark or dark to light.  There are obviously no wrong answers when choosing fabrics so this design can create an extremely creative and visually exciting result.


For those of you who follow my blog you know that I like to simplify when ever possible.  There is a simple way to achieve this design using strip piecing.  I'm a bit of a strip piecing broken record, I know.  However, I figure I'd show the old fashioned way of piecing these together as well as the easier strip piecing method as I've seen both within quilting instruction and pattern books.


After fabrics are chosen, the basics of this design is to build a 45 degree diamond made up of other 45 degree diamonds.  This is done by piecing three rows of diamonds [as noted by the three arrows within this photo] and then piecing the three rows of diamonds into one 45 degree diamond.  This is then repeated 8 times and those larger diamonds will form an 8 pointed star.  I'll explain both ways to achieve this, traditional piecing and strip piecing.

Step 1


Traditional Piecing Method

Step 1 - When using traditional piecing you would cut all your fabrics into 45 degree diamonds.  You'd then be tasked with piecing each 'row' as noted above one diamond at a time.


Step 2

Step 2 - When piecing together diamonds [or any of the 45 degree cuts in this design] the tendency is to want to lay both edges exactly together.  However if that is done your diamond points will not line up properly.  The method for making these shapes connect with a straight line when the connected is to off - set the point of the overlapping diamond by 1/4 inch.  Which is the same as your seam allowance. See small overlap on the top left of the two fabrics.
 
Step 3

 Step 3 - Join the two diamonds making certain that your seam allowance is exact and that you maintain that seam through the whole project.  The success you have with this project will depend on how exact you are with your seams here.  The photo on the right is a bit difficult to see, but the seam begins at the intersection of the overlapping fabric, this will ensure that when the fabrics are pressed that they form a straight line.


Step 4

Step 4 - Press the seam and your result, if you have off set your piecing by the proper 1/4 inch and maintained that seam allowance properly will be that the pieces fit and form a straight line across the top, which will become the joining point for piecing the strips of 3 pieced diamonds together.


Step 5


Step 5 - Repeat with all three diamonds for each row and use the same overlapping method for piecing each strip of 3 connected diamonds to form a larger diamond.


Strip Piecing Method


Step 1- When strip piecing your first step after choosing your fabrics is to, as the name implies, cut strips of each.  With a star of this size, that contains 3 rows of fabrics.  If you were to number your fabrics by color it would illustrate a bit easier the number of strips you would need of each color.  For example; the first set of 3 strips that you would join would be colors 1+2+3, you would then join colors 2+3+4 and finally colors 3+4+5.  So you can see that you need more yardage of the most prevalent fabric in the group of five, which in this size star is fabric #3.  To avoid too much wasted fabric I suggest sewing the strips together with each consecutive strip off at the top edge by the same number if inches as is the width of the strip since you'll be cutting these on a 45 degree angle.  I've taken this photo with my blue 45 degree template to show the placement of the strips in relation to the top edges.


 Step 2 - Once the three strips are sewn together creating the sets of 3 are as easy as cutting the joined strips on a 45 degree angle.  A common mistake here is to measure the width of your cut on the outside of the joined strips.  The actual measurement is the depth of the cut and that can be achieved by placing your ruler at 45 degrees, make the first cut, then measure the cut edge in by the width of your diamonds.
Step 2 - 45 degree cuts
Step 2 - completed strips, getting ready to assemble the star


Step 3 - Assemble the three strips in much the same manner that we pieced the diamonds above using the traditional piecing method.  This includes leaving an overlap the same size of your seam allowance of 1/4 inch.  Continue and create 8 star points.  One thing that I do during this step that you may not find in any other instruction is that I press every other diamond opposite each other.  I do this for a few reasons; first that my sewing machine has an easier time powering over those seams, secondly seams that go in opposite direction are less bulky in the end and it I certainly have an easier time viewing the seams and where they will intercept prior to sewing them.  Since I've gone through the trouble to press my seams from 4 pieced diamonds opposite to the other 4 before I continue with putting the star together I do somewhat of a dry run and lay each diamond out to plan assembly.

Star points arraigned  upside down on my cutting table.
Alternating seams.


Step 4 - Assembling the star is the next step, and as you can see in the photo at the top of this post I've created the green star with diamonds rather than creating a square 'block'.  However, for instruction sake I will demonstrate putting the star within a square block.  With an 8 pointed star there are 4 corners which require squares be pieced in and 4 sides which utilize right triangles.  The order of the assembly is to piece the square corners first, followed by the triangles.  This I suppose is not a hard and fast rule, but it is what has worked best for me.  When joining the three shapes; two star points and one intersecting corner square, you first need to join the star points leaving at least your 1/4 inch seam allowance at the top of the connecting seam.  When that seam is complete do not press it yet, instead separate the two and sew in the side of the intersecting square,flip it over and continue to do the same for the other side of the square.  This is intersection is one of the most tricky parts of this project.


Step 5 - Now that you've got all 4 corner squares attached the same method is used for the side triangles and in the same seam order.  First seam joined should be down the side of the pieced star points leaving at least a 1/4 inch corer at the top to accommodate the corner of the triangle and to allow for enough seam allowance for each side of the triangle to be sewn to the top of the pieced diamonds.


To prepare for the final assembly, attach a triangle to each star half.


The final result....